The first step when beginning to make jewelry out of polymer clay is to gather up all the tools you will need for each particular job you plan to do. The tools in the picture below are what I gathered up to complete a pair of koala bear earrings.
HOW TO MAKE KOALA BEAR EARRINGS

2.Clay- Grey, Black, and off White (with a slight grey tint)
3. Wire
4. Ear Ring Findings
5. Sketch Book, pencils, and eraser (optional because not everyone plans on paper)
6. Pliers- needle-nose, and regular
7. Clay working tools (you want one that can slice the clay and cut shapes, and another one with a pointed end for detail work)
8. Jimi Hendrix playing on your stereo or computer (optional because one should listen to what inspires them personally)
Step One:
1. Complete a Sketch of the design you want to create in clay.

Step Two
1. Take your Wire and cut off a piece as long as you want the main part of the ear ring to be plus 1/2 that much for wrapping into a loop.

3. Then you take the needle-nose pliers and grab the shorter end of the wire and begin wrapping it around the longer side. Once this is done completely you have a wire with a loop at the end to later attach an ear ring finding or a necklace or anything you wish.
4. Do this twice one for each ear ring.


Step Three:
1. Once the wire is ready you will need to get the clay ready to put on it. This requires you to take the grey clay which will be the head and divide it into 2 balls, one big for the head and one small for the ears. Do this twice one set per ear ring.


2. Work and knead the clay then roll it back into a smooth ball. Do this for each ball you made. Work the clay till it is soft and pliable.


3. Insert the finished wire from step 2 into the large ball that will for the head. Do this for both large balls and wires. Then you will need to push the clay gentle into the wire to help hold it in all the while trying to retain the original ball shape. This is done by pushing the clay with a smoothing tool while holding it gently in between your fingers.
4. Then the koala head should be ready to add some ears, which brings us to the nest step.
Step Four:
1. Take the light off white clay and make a ball a bit smaller than the grey one.
2. You take the small grey ball you made and softened and begin to flatten it out with the side of your tool like a rolling pin. When it is slightly stretched and looks almost oval you are ready to cut it in half. Now you have two almost 1/2 circles for the ears.
3. Repeat the same sort of step with the off white till you have the same shape but a bit smaller. This will form the inner ear part. However, before attaching these two you must score the grey ear parts.


4. Take the pointed tool and scratch tiny scratches into the grey, this will help adhere the two pieces together. After this is complete you can begin pushing them slightly together till the are one piece, being careful to retain the shape the entire time. Leave a bit more grey near the edge of the ear than the white, so you can use this to help smooth the grey ear into the head later.
5. Now you have a koala ear! Repeat this step till you have 4 good ears. Once that is done we can begin to attach the ears to the wired up head pieces.
6. Begin by putting one ear up to the head and finding the perfect spot for it, then you can begin pressing it to the head and use the tool to smooth the extra part you left onto the back of the koala head.


7. Now you can smooth both ears on to the head till it looks uniform in the back.


8. Repeat for the other head and you have two complete koala head ready to add some faces.
Step Five:
1. In order to figure out where best to put the eyes and nose I consult my original drawing and then add small holes with the pointed tool to indicate where to put them. Then I make the nose hole kinda large to be able to press in the black clay and make it stay.
2. Then I roll 2 small balls of black clay for the nose.


3. Then you attach the nose onto the face making sure it is in well enough to stay on after baking.
4. Rolling very very tiny balls of black to insert the eyes is the next step and final step for the face.


5. Now you repeat that to the other one and you will have two complete ear rings! Ready to put on findings and bake.


6. Take the ear ring finding and hold it in your left hand then with pliers grab the loop end and pull it apart slightly, just enough to fit the loop on the top of the koalas head into it.
7. Put the loop in and close the finding loop with the pliers again. Voila! You now have a completed ear ring ready to bake. Repeat with the other one and you are ready to get baking!


1. Set the oven to 225 degrees F and bake for 15 minutes per 1/4 of an inch of thickness of clay. These Koala Ear Rings took about 30-40 minutes to bake, as I made them a bit thick.
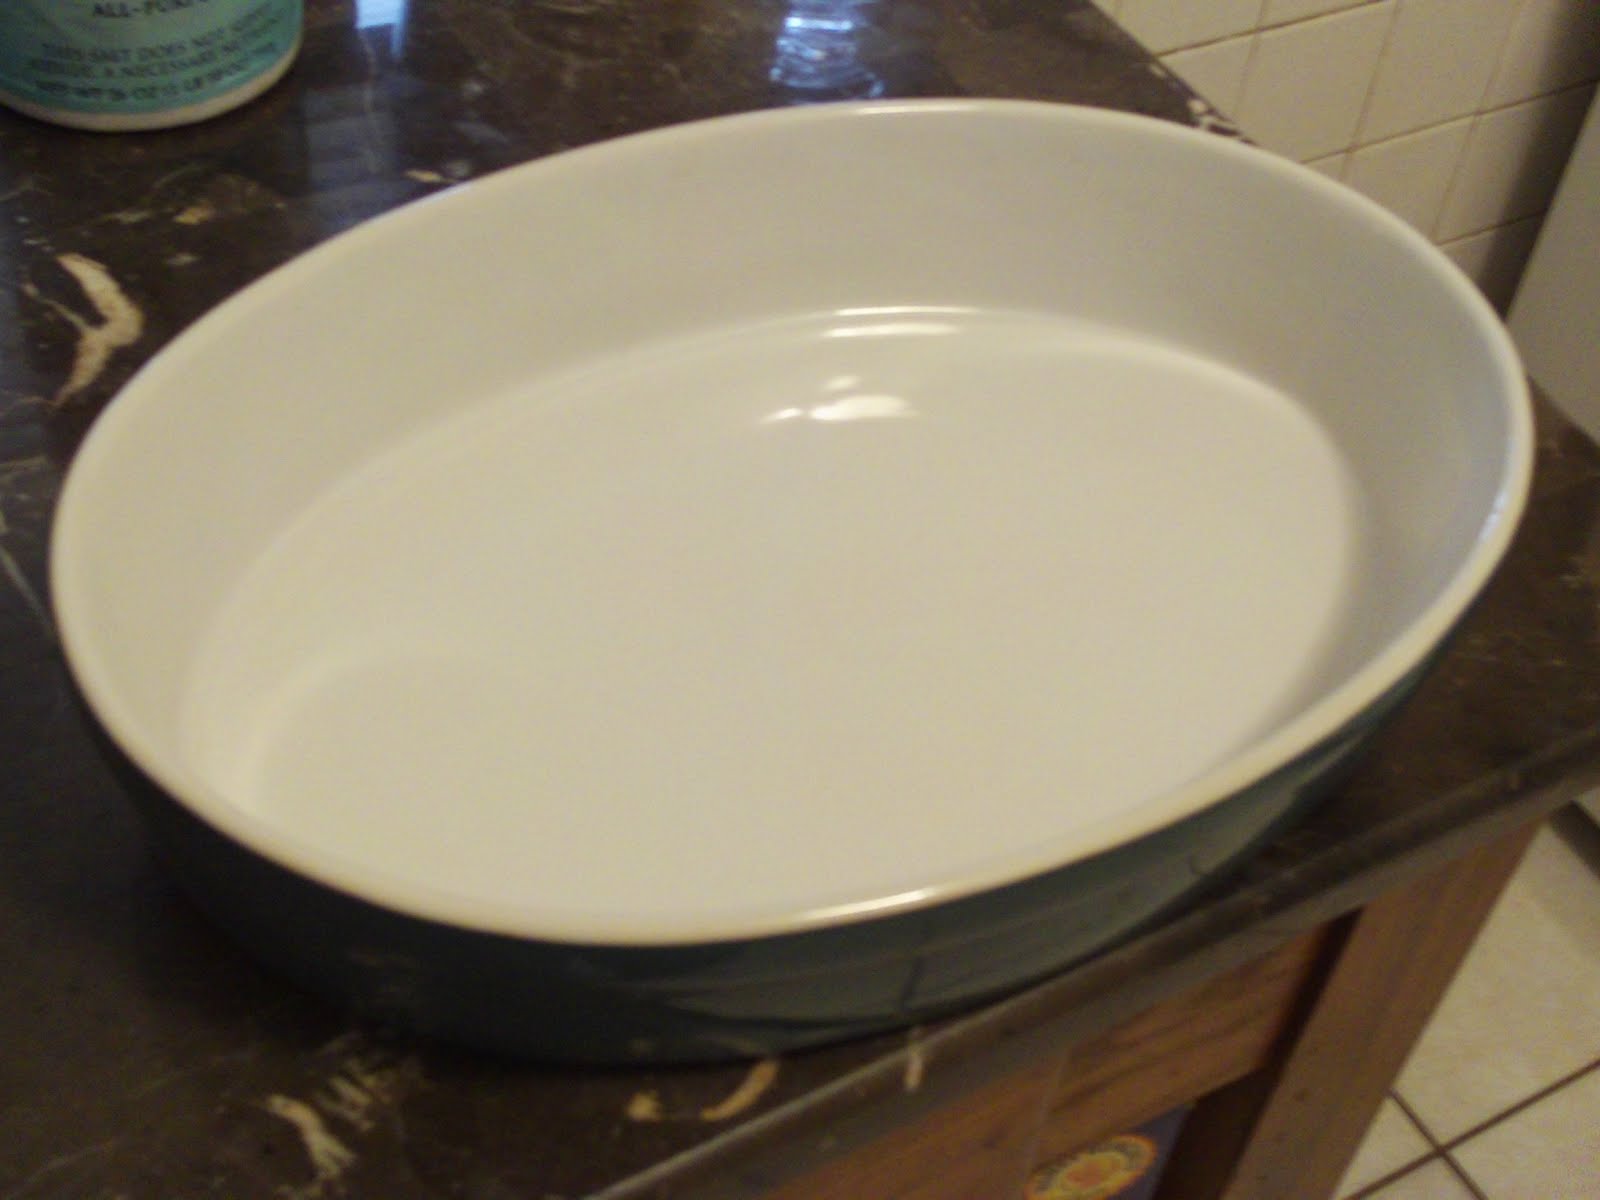
2. I put them in a stone baking dish because I like how ear rings can hang off the side without messing up the shape during baking. I use stone or glass typically just to ensure the metals don't effect my clay. Then when they get finished baking you have a complete set of ear rings ready to wear. The next step if you so choose is to glaze them, which i will be covering in the next post!!


Step Seven:
1. Either begin glazing them or enjoy wearing them right now!!
You can buy these guys and more by visiting my Etsy shop "SaucerfullofSecrets" http://www.etsy.com/shop/SaucerfullofSecrets?ref=si_shop
or check out the Koala Ear Rings listing at:
Adorable!
ReplyDeleteThanks! I hope to have more up soon!
ReplyDelete